Nail Preparation
The Foundation of Perfect French Tips
Why Preparation is the Key to Perfect Coffin French Tips
Even the most skilled nail technicians understand that exceptional French tip manicures begin long before the polish is applied. The preparation phase sets the foundation for everything that follows, determining how well your design adheres, how clean your lines will be, and ultimately how long your manicure will last.
In this section, we'll cover the often overlooked yet critical steps that ensure your coffin French tips look professionally executed and remain beautiful for weeks.
Proper Natural Nail Care
Hydration Routine
Healthy nails require consistent hydration. Establish a daily routine of cuticle oil application followed by hand cream. This prevents the nail plate from becoming brittle, which leads to better adhesion and prevents lifting of your French tips.
Strengthening Treatment
For clients with naturally weak nails, incorporate a 2-week strengthening treatment before attempting coffin French tips. This creates a more stable base for extensions and prevents breakage that can ruin the perfect coffin shape.
Nutrition Impact
The health of natural nails is affected by nutrition. Recommend biotin supplements and foods rich in vitamins A, C, and E to clients looking to improve their nail health for better French tip results.
Proper hydration can increase adhesion strength by up to 40%
Cuticle Management Techniques
Clean, well-managed cuticles are essential for creating the perfect French tips. Excess cuticle tissue on the nail plate will cause lifting and uneven application.
The Dry Method
- Gently push back softened cuticles with a wooden pusher
- Use a cuticle nipper only for hangnails and loose skin
- Carefully buff away invisible cuticle from the nail plate
- Avoid aggressive cutting that can damage the matrix
The Soak Method
- Soak fingers in warm water with cuticle softener for 2-3 minutes
- Apply cuticle remover gel and wait 45 seconds
- Push back cuticles and remove excess with gentle scraping
- Clean and dehydrate thoroughly before proceeding
Pro Tip: The most common cause of lifting in French tips is invisible cuticle residue on the nail plate. Use a fine buffer in one direction only to remove this barrier to adhesion.
Nail Surface Preparation for Maximum Adhesion
Perfect French tips require immaculate nail plate preparation. Follow this precise sequence for maximum adhesion and longevity:
- 1 Remove all traces of old product with appropriate solvent
- 2 Shape free edge to desired coffin form using 180-grit file
- 3 Gently buff surface with 240-grit buffer to remove shine
- 4 Remove dust thoroughly with brush
- 5 Cleanse with isopropyl alcohol (91%) or nail cleanser
- 6 Apply pH balancer to neutralize nail plate
- 7 Apply non-acidic primer followed by bonding agent
The Art of Creating the Perfect Coffin Shape

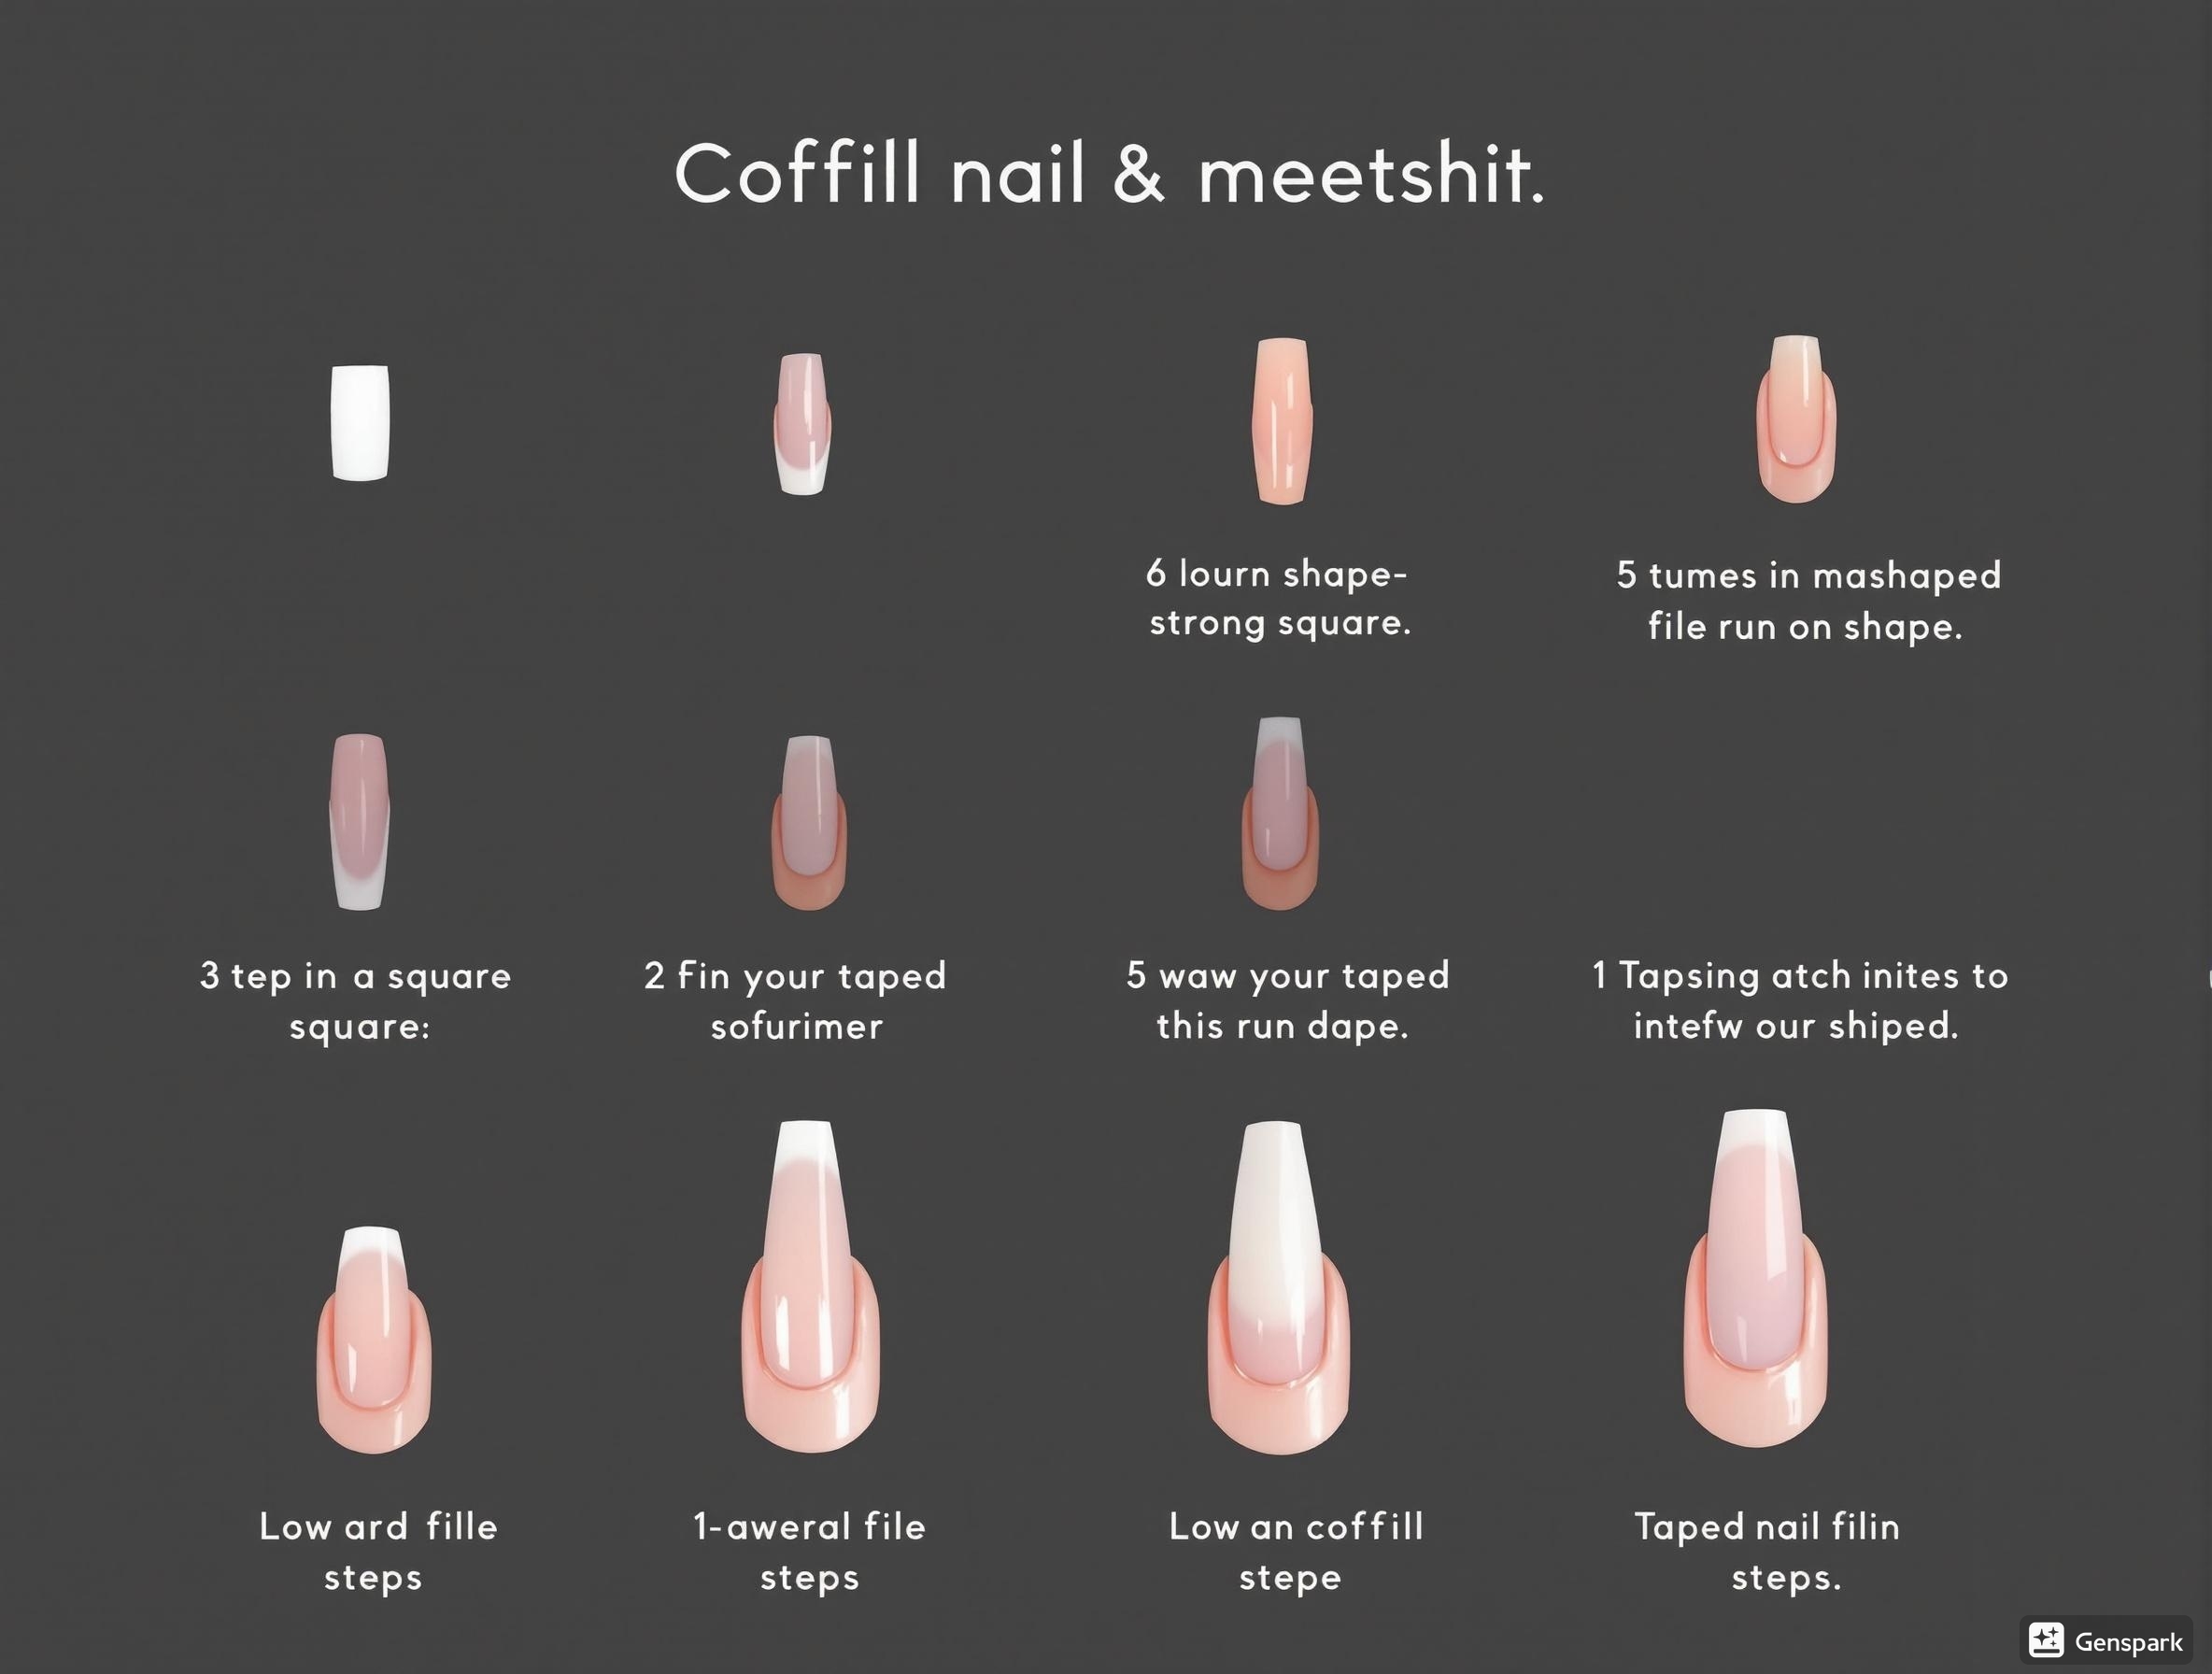
Step-by-step progression from square to perfectly tapered coffin shape
Detailed Filing Technique for Coffin Shape
Step 1: Create the Base Shape
Begin with a square shape as your foundation. File the sides perfectly straight and parallel to each other. Ensure the free edge is completely straight across with sharp corners.
Step 2: Establish Side Angles
Hold your file at a 45° angle to the side walls. File inward from each corner, creating a tapered effect. Maintain symmetry by filing the same amount from each side.
Step 3: Perfect the Flat Tip
File the free edge straight across to create the signature flat tip. The width of this flat edge should be approximately 1/3 of the width of the nail at the smile line for ideal proportions.
Step 4: Refine and Balance
Examine the nail from all angles, especially head-on and profile views. Make minor adjustments to ensure perfect symmetry. Round slightly where the tapered sides meet the flat tip to prevent snagging.
Proportion Guide: For most hand types, the ideal coffin shape maintains a length-to-width ratio of approximately 1.5:1 measured from cuticle to free edge.
Length and Shape Considerations for Your Hand Type
• Moderate length coffin shape
• More gradual taper
• Slightly narrower width
• Creates illusion of length
• Extended length acceptable
• More dramatic taper
• Narrower flat tip
• Creates slimming effect
• Medium length ideal
• Moderate taper angle
• Slightly wider flat tip
• Maintains proportion
Key Takeaways
- Meticulous nail preparation is the foundation of long-lasting French tips
- Complete cuticle removal from the nail plate prevents lifting and ensures clean lines
- The 7-step dehydration process maximizes adhesion and extends wear time
- Perfect coffin shape requires precise symmetry, proper tapering, and a flat tip
- Customize coffin shape proportions based on individual hand and finger type